Top 2 Ways to Move Spotify to SD Card [2025 Complete Guide]
As was always expected from Spotify, it is giving us the perfect content including podcasts and unlimited access to millions of songs. Spotify has also given us the feature of downloading the songs so that we could listen to them even if our internet connection was lost. Since in Spotify we can find almost all of our favorite songs, we always proceed on downloading directly each song and playlist that we see. This will obviously make the storage location of our device full especially if external storage was not being utilized. In this case, you should really know the procedure on how to move Spotify to SD card.
If you have been searching over the net about how to move Spotify to SD card, I guess you are lucky to land on this article since it is to tackle all the possible and the most reliable solutions that you could do on how to move Spotify to SD card. Feel free to learn and acquire some knowledge from this post so that you can enjoy more on using Spotify all the time.
Article Content Part 1. Why Can't I Move Spotify to SD Card?Part 2. How to Save Spotify Music to SD Card with PremiumPart 2. How to Download Music From Spotify to SD Card for FreePart 3. In Conclusion
Part 1. Why Can't I Move Spotify to SD Card?
Let us start this section by answering first the question “why can’t you change Spotify storage to SD card?” and then “how to move Spotify to SD card?” One of the chiefly responsible reasons why your SD card can’t be used for the storage of your Spotify downloads could be that your SD card has a lesser space available compared to that of your internal storage or phone storage. Once the Spotify app was downloaded and installed on your device and then you try on downloading your favorite songs, the app will likely check and choose which contains more space between your phone or SD card memory. All of your downloaded Spotify songs will automatically be saved into the more available one. So, if you have always wanted to utilize your SD card more, just make sure that when you install the app once again, you already prepared a lot of free space in your SD card.
Like I mentioned in the introduction a while ago, if you are always running out of memory for the past few days and you wish to save up a bit of your internal storage, it would be helpful to have an SD card inserted into your device, could be a phone or a tablet. However, this way works alone for all Spotify Premium subscribers since they are the only ones given the official and formal permission or privilege to download songs from Spotify through their paid subscription fee every month. These downloaded Spotify songs could then be used for offline playback.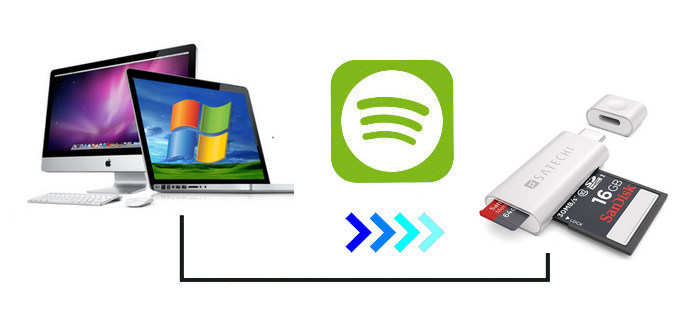
Part 2. How to Save Spotify Music to SD Card with Premium
Through the above chapter content, you can know that Spotify Premium subscribers are able to save Spotify music to SD card. Below I have listed the most recommended programs on how to move Spotify to SD card. It only requires a few steps on your part and is absolutely simple and convenient. And, it can be done within the Spotify app alone.
Steps On How To Move Spotify To SD Card On Your Mobile Device
Step 1. Open your device and then click on your Spotify app.
Step 2. On the main interface of the app, select the tab of “Your Library”.
Step 3. Now, locate the button of Settings, which is represented by a gear icon, and then have it clicked once found to officially launch the Settings window.
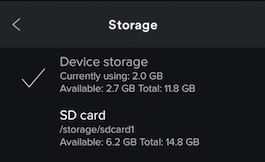
Step 4. Right after that, select the button of Storage. It will give you two results namely the Device Storage and your SD card. You are free to choose any of the two of which one you prefer more to be the end location of your downloaded Spotify songs. But since we are talking about how to move Spotify to SD card, click on the folder of SD card.
Step 5. After the selection was done, you may now click on the OK button to save the changes that you have made in your Spotify app and so that the storage location will be switched to external storage. You should be prepared to wait for a few minutes especially if you have a huge music library.
Steps On How To Move Spotify To SD Card On Your Desktop
Step 1. The first thing that you have to do is to take a look at the upper right corner of your Spotify desktop application. You will then notice an arrow right next to your username. From there click on the Settings option.
Step 2. The next step is to continue browsing until you see the option for Show Advanced Settings.
Step 3. From there, look for Offline Songs Storage to check and see where all of the cache files are being kept and stored.
Step 4. Click next on the button or option of Change Location so that you can finally start entering the new location that you prefer to have. And again, since we are tackling how to move Spotify to SD card, choose the external storage or your SD card.
Part 2. How to Download Music From Spotify to SD Card for Free
The method that was explained above is working for the Premium users alone, so it would surely be a problem if you are just using the Spotify Music application for free. So, the option that would best fit you is to make use of a professional tool that can help you download songs without the need of subscribing to Spotify Premium. The best tool that could help you is no other TuneSolo Spotify Music Converter.
Let us have first an introduction to the features of TuneSolo Spotify Music Converter before we discuss the detailed steps on how to use it to download songs and later on, how to move Spotify to SD card.
Key Features Of TuneSolo Spotify Music Converter
Download Spotify Songs
Let us start with the capability of TuneSolo Spotify Music Converter in assisting you when it comes to downloading your favorite Spotify songs. This is actually a very helpful feature to all free users enjoying the app and also to all who are planning to end their Spotify subscription. Know the fact that you will still be able to listen to your favorite Spotify songs through the help of TuneSolo Spotify Music Converter.
Offline Listening
Another feature that was meant for the Premium users alone is the offline playback and gladly, TuneSolo can offer you the same feature as well. Once the songs are downloaded into your device, you will now be able to play the songs offline and have them enjoyed without the need of seeking for stable internet connection. So, basically with your mobile data off, you can still stream all of your favorite playlists and even podcasts once they are saved into your device.
Common Output Formats Available
Since it was already discussed that you are capable of downloading the songs from Spotify through the help of TuneSolo, you should know as well the output formats that are available before you proceed on downloading them. The most common output formats include the MP3 format, WAV format, AAC, and FLAC output format.
Downloaded Songs Can Be Played In A Lot Of Devices
Like what was discussed a while ago on the previous feature, you can convert songs into other output formats. Converting them into another audio format will enable you to play your downloaded songs on any device that you prefer on using. Unlike in Spotify Premium that you were only limited to play the devices in no more than three devices since the songs are known to be protected by DRM. You will no longer experience restrictions when it comes to enjoying your songs.
Preserves Metadata Info And ID3 Tags
Another important and very useful feature of TuneSolo Spotify Music Converter is that it surely retains all the most important information from the songs even after undergoing the process of conversion. This is useful in such a way that it will definitely save you from doing a lot of exhausting and time-consuming work of filling in all the important details of each song that you have converted. With the help of this feature, you can totally save a bunch of your time.
Fast Speed Of Conversion
TuneSolo Spotify Music Converter is also very capable of converting the songs in just a couple of minutes. It can literally accelerate its conversion rate up to 5x faster. This is actually already a lot way quicker compared to any converter’s speed of converting songs. With this feature alone, you could obviously save a lot of your time as well.
Organize Your Own Music Library
TuneSolo Spotify Music Converter has also let its users organize their own music library in any way they wanted it to be. You are free to choose by whatever category you want the songs to be arranged. You can have them organized by album, by year, or by the artist.
Free Updates And Unlimite Help From The Technical Support Team
Yes, you read it right. All the users of TuneSolo Spotify Music Converter are entitled to free updates every time that there is one available. Also, you can always ask for the help of the technical support team every time that a problem or an issue was experienced in the middle of the process.
How to Download Spotify Music to SD Card for Free
Step 1. Download And Have TuneSolo Spotify Music Converter Launched In Your Device
The very first thing that you have to do is to download TuneSolo Spotify Music Converter. You can either have it from your device’s application store or you may also try on getting the app from the official website of TuneSolo. Once the download process was done, have TuneSolo launched or running on your used device.
Step 2. Upload The Songs Into TuneSolo Spotify Music Converter
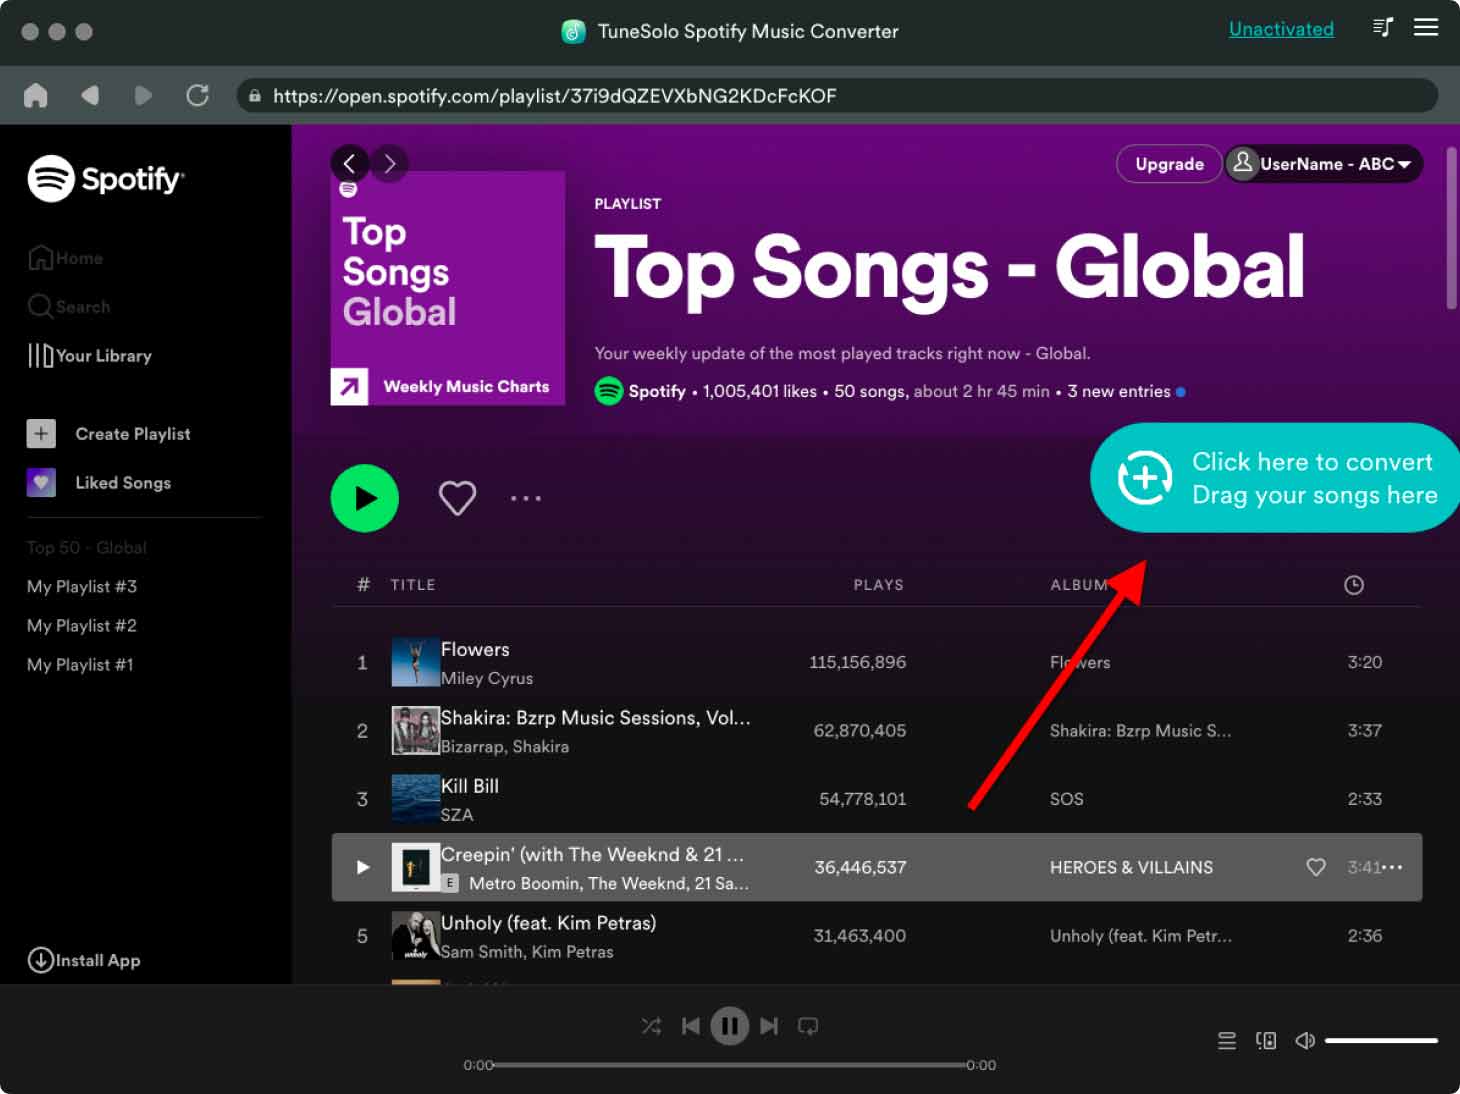
For the next step, you only have to wait for a few minutes until TuneSolo has recognized and read all of your Spotify songs. Once they were completely read, it is now time to upload the songs that you have selected from your music library. In uploading the songs, you can just copy the link of the songs and then paste it into the converter. Another way of uploading the songs is by just dragging and dropping them into the converter.
Step 3. Select The Output Format And Output Foder
Once the songs are completely uploaded into the music converter, you can now choose the end format that you would likely prefer to have. As was mentioned a while ago, you may choose from MP3 audio format, AAC, WAV, and FLAC output format. You may also be required to allow an end location or a folder where all the songs could be saved once the conversion process was done.
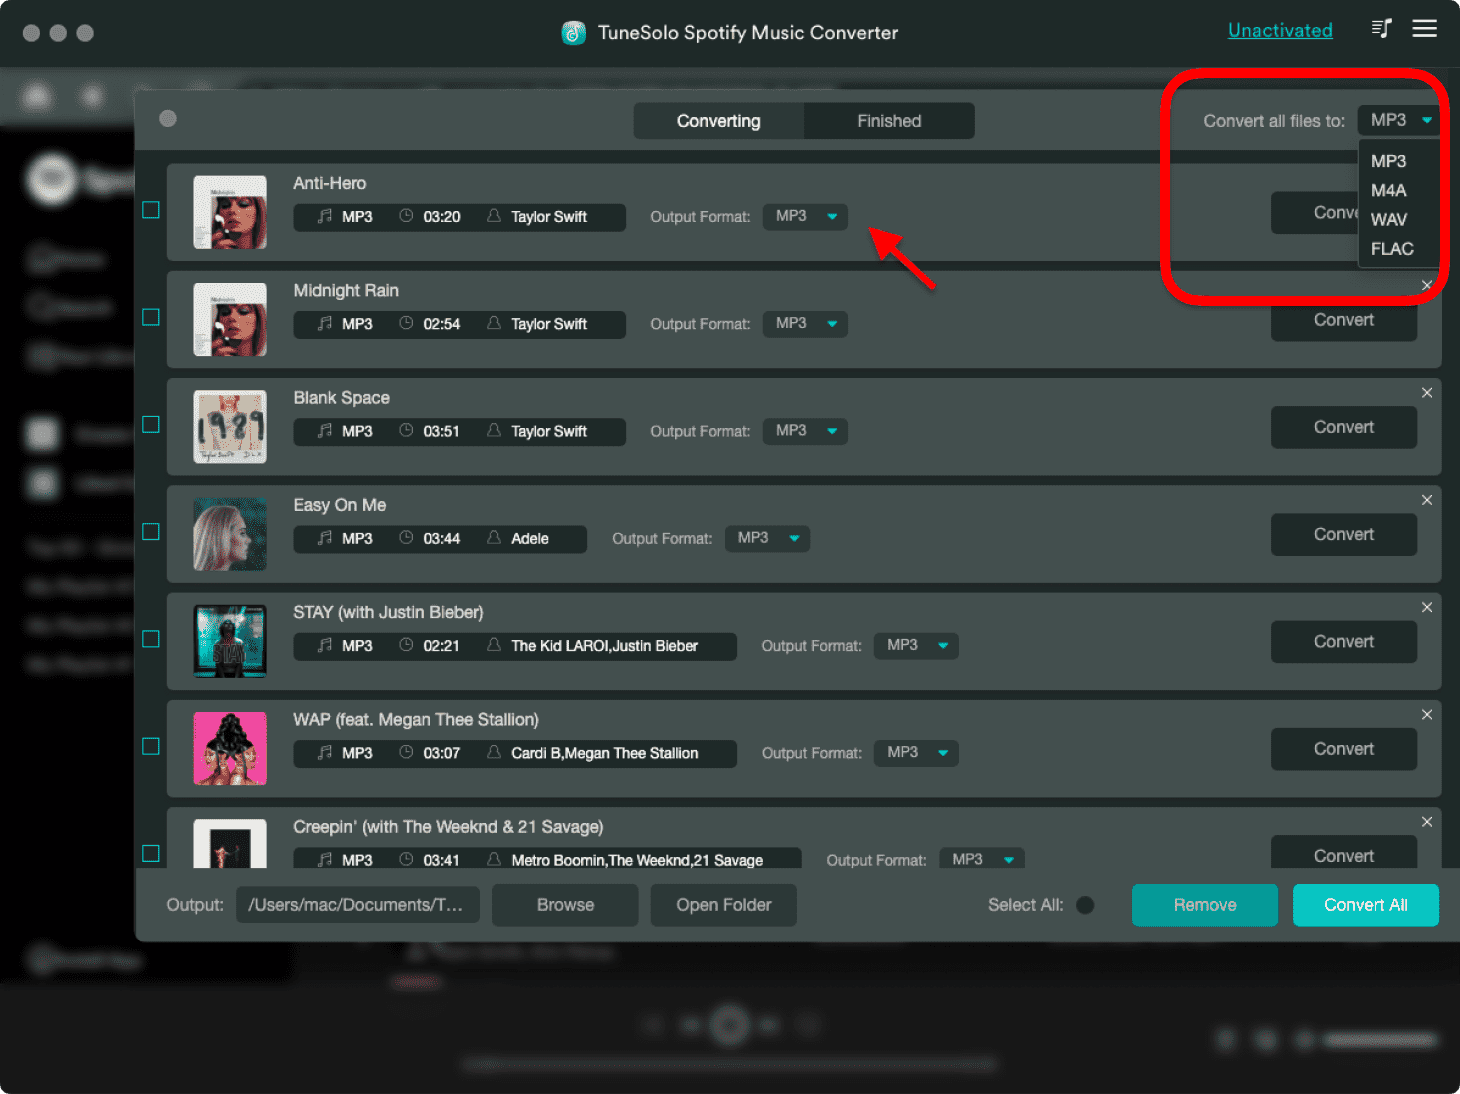
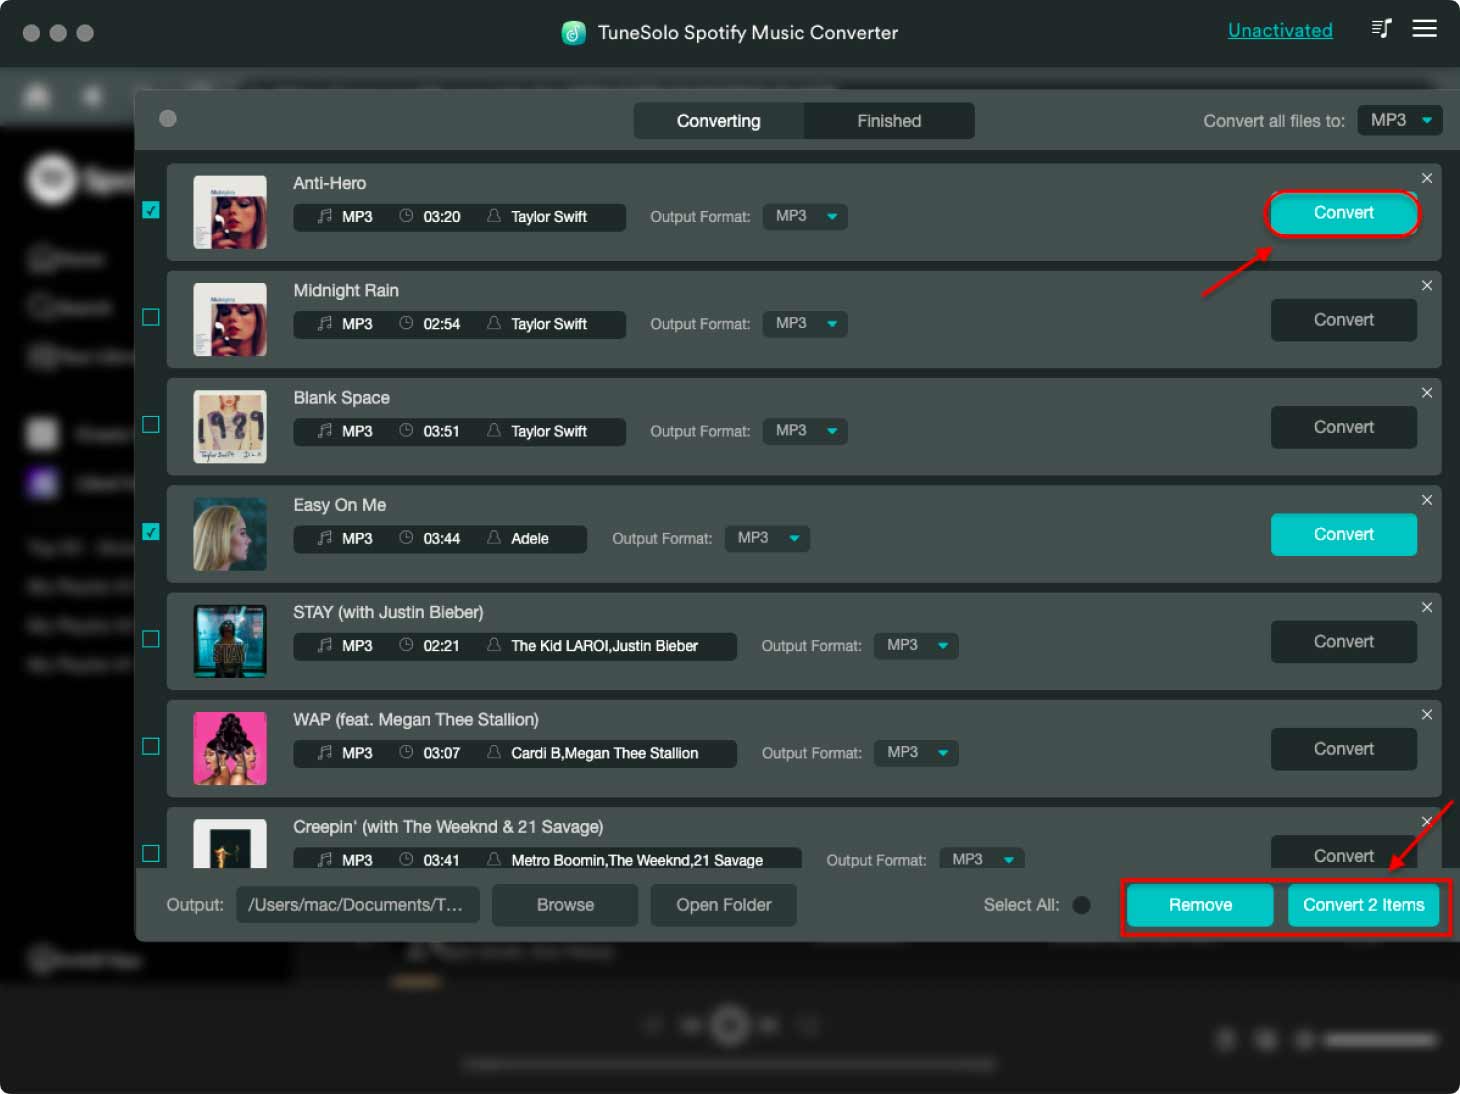
Step 4. Click The Convert All Button
Now that the output format was already set, you may now click on the Convert All button to officially have the conversion process started.
Step 5. Get The Converted Songs
For the last step, you may click on the View Output File folder or button in order to check and download the songs permanently on the device you are using.
Step 6. Move Converted Spotify Music to SD Card
Since we are focusing on how to move Spotify to an SD card, you have to make sure that when you download the songs, you must have first selected the external storage as the location of the downloaded songs. You can find your music in the destination folder, then connect the SD card to your computer through a card reader, and then select the music you want to transfer to the SD card. Alternatively, you can also connect a device with an SD card to your computer via a USB cable,then save Spotify music to your SD card for offline listening on any platform.
Part 3. In Conclusion
Now I think you will no longer be troubled by this question: “Can I download Spotify songs to SD card?” because you can find the answer in this article. For Android users who have a Premium account, they can easily download Spotify music to SD card. However, the songs are still only available through the Spotify app. But now the emergence of TuneSolo will change all this, it can help you play Spotify songs on the SD card on any device and platform you want. You can click the safe button below and try it for free now!

