4 Easy Ways to Transfer iTunes Playlist to Android
Although Apple devices are great, you have to admit that they lack some features that an Android smartphone has. This is probably their main flaw, at least to some people. Sometimes, the features they lack are exactly what you need.
Perhaps that’s the reason you want to switch to Android. You don’t have to worry. It’s perfectly normal to look for better alternatives. This is just one of the many reasons why it’s a good idea to learn how to transfer music from iTunes to Android.
This article will show you several ways to transfer iTunes playlist to Android and even a trick to keep Apple Music songs forever. Let’s get started!
Article Content Part 1. Can iTunes Playlists Be Transferred?Part 2. How to Transfer iTunes Playlist to Android?Part 3. Best Method to Transfer iTunes Playlist to AndroidPart 4. Conclusion
Part 1. Can iTunes Playlists Be Transferred?
There are several mysteries regarding the iTunes application, one of which is whether iTunes playlists can be transferred. Fortunately, the answer to that is yes. You can transfer iTunes playlist, and there are several ways to do so.
Export songs to another app
To start with, you can export songs from your iTunes playlist in the event that you want to transfer it to other apps. This includes Spotify, Google Play Music, and the likes.
Unfortunately, in some cases, the actual songs are not the ones transferred, but only the information like the Title, Artist, Album, Genre, etc. This often occurs in songs that are protected by the FairPlay DRM.
Export a playlist to a computer (via sync)
You also have the option to export the iTunes playlist and transfer it to other computers. Normally, you install iTunes on both computers and sync iTunes playlist to Android. This is very helpful if you want to have a copy of your songs on each computer, making them more secure, safe, and reducing the risks of data loss.
Importing a playlist
Obviously, since you exported the playlists, you have to import them on the receiver device in order to complete the transfer process.
Transfer a playlist to any device (via USB cable)
The easiest and simplest method perhaps is when you use a USB cord to transfer the playlist. This involves connecting one device which is the receiver to the device where the iTunes playlist will come from. Since it uses the drag-and-drop option, it’s quite easy to do.
Although many people are asking this question, it’s actually very easy to transfer playlists. However, that only applies to unprotected songs. If the songs included in the playlist have DRM, it won’t be as easy. To give you a better idea, we’ll discuss the methods next.
Part 2. How to Transfer iTunes Playlist to Android?
As previously said, you have multiple options if you want to transfer iTunes playlist to Android. We also discussed an overview of these methods. So now, I will show you how to turn that into reality. Let’s get started with what I consider is the simplest method.
Solution 1. Transfer iTunes Playlist to Android via USB
Yes, the simplest way to transfer iTunes playlist to Android is using a USB cord. Normally, you need to connect your Android device to the computer that houses the iTunes playlist. However, there are many more things to do than that. So let’s proceed with the steps:
- Open the iTunes app on your computer.
- From the sidebar, select a playlist.
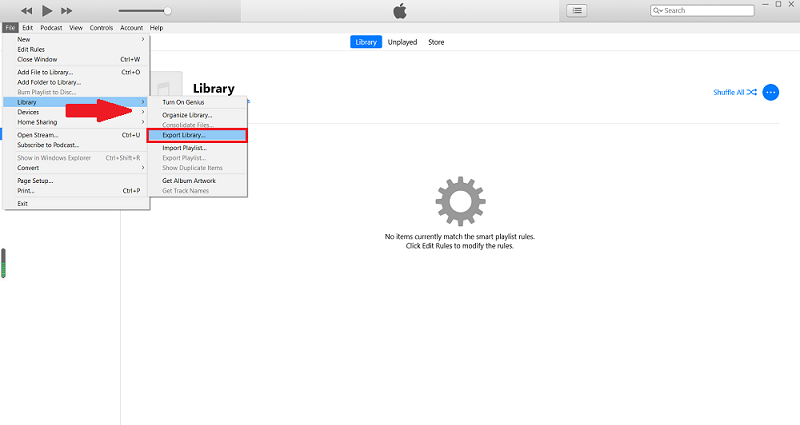
- On the menu bar, click on File.
- Select Library > Export Playlist.
- Choose XML as the format and click Export.
Note: You may also export all playlists instead of just one if you follow these steps except for step #2.
We have now gone through phase 1. Next, you will find out how to transfer the exported iTunes playlist into your Android device.
- Connect your Android device to the computer you used earlier using a USB cord.
- Transfer the exported XML file into the Android by dragging and dropping it into any folder of your Android internal storage.
- Now open the Apple Music app on your Android.
Note: You can install the Apple Music app from the Google Play Store of Android.
- On the Apple Music app, go to the Menu and select Import Playlist.
- Now browse your Android smartphone and locate the XML file that you recently transferred. Tap on that file.
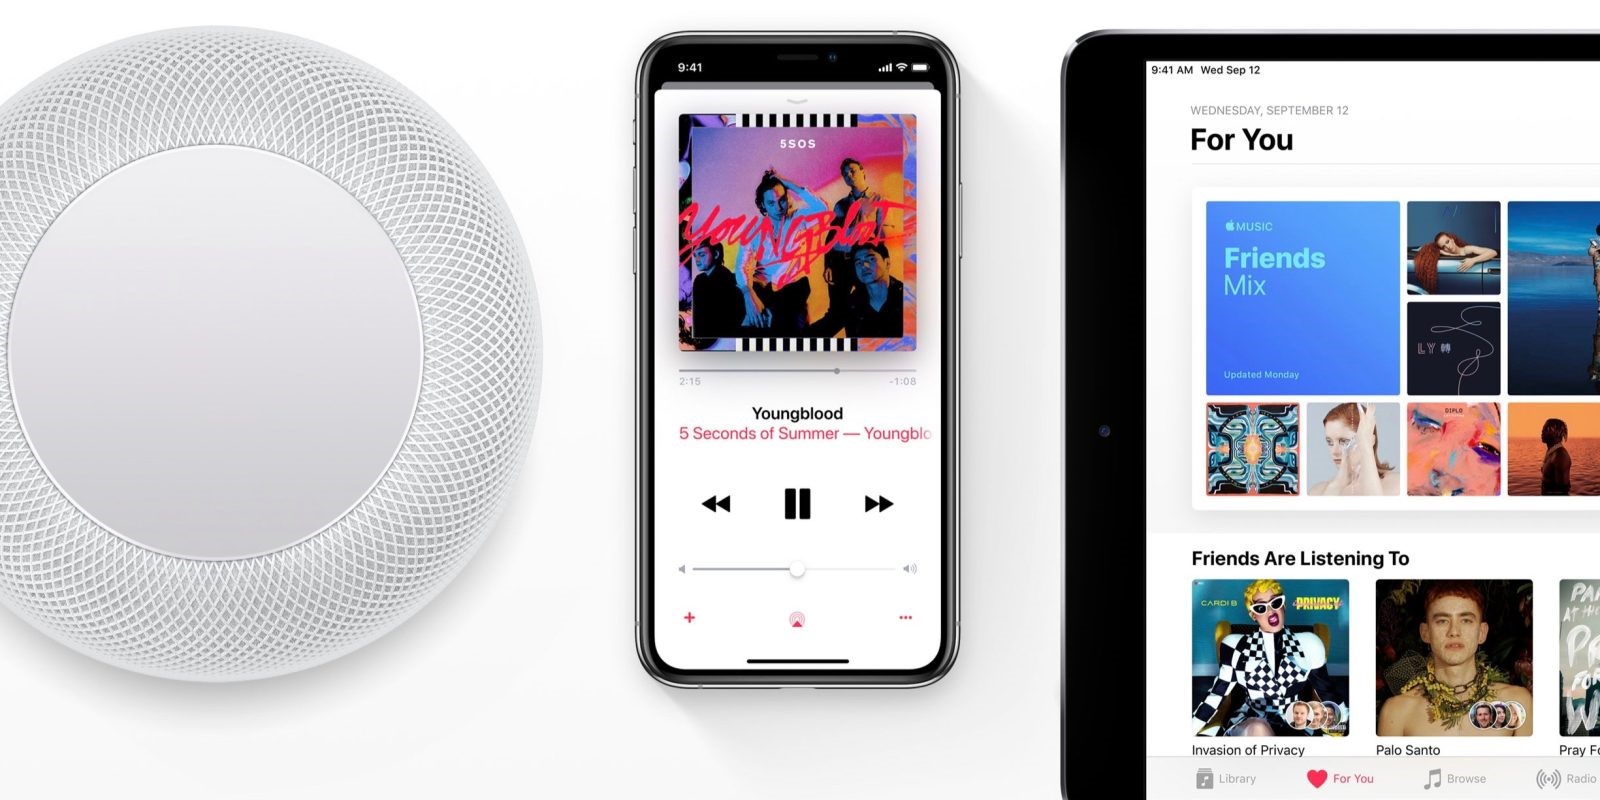
Solution 2. Transfer iTunes Playlist to Android Using Apple Music
As you may already know, Android now has an Apple Music app. Hence, we can safely say that Android and Apple devices now have one thing in common, and that would be the Apple Music app. So what better way to transfer iTunes playlist to Android than using this app. Here’s how you can use Apple Music to transfer your iTunes playlists:
- Open the iTunes app on your computer.
- On the menu bar, go to Preferences.
- On the Preferences window, head to the General tab and check the box for iCloud Music Library. Click OK afterwards.
Note: If the said option is grayed out, make sure you’re connected to an Apple account.
- Now on your Android device download the Apple Music application.
- Sign in to the app using the account you’re using on your computer.
This will automatically sync the iCloud Music Library on your computer into your Android device. However, if it doesn’t work, you need to do it manually by going to iTunes > File > Library and clicking on Update iCloud Music Library.
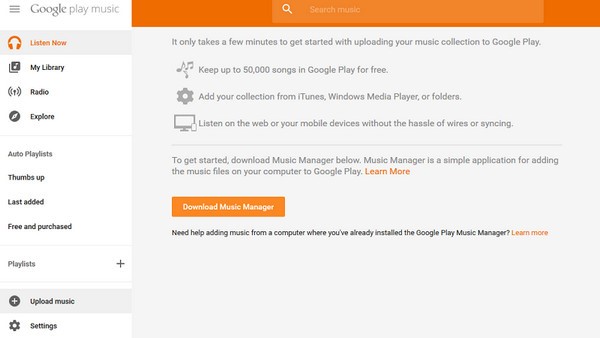
Solution 3. Sync iTunes Playlist with Google Play Music
Not many people know about this, but Apple Music and Google Play Music actually have a connection to each other. Hence, it’s possible to transfer iTunes playlist to Android mainly by syncing these two platforms with each other. Here’s how this works:
- Download the Google Play Music Manager App on your computer.
- Install this application on your computer.
- While setting up the program, you will see an option that says “Upload songs to Google Play” Simply select this option.
- You will then be taken to another window where several platforms will appear. Simply select iTunes to finalize the process.
- Wait for a couple of minutes so the two can complete the syncing process.
These are all three methods to transfer iTunes playlist to Android. Although some are easier than others, they tend to have more issues. Hence, it would be a great idea to try out all these solutions. On another note, I have one more recommendation to achieve your goal, and I think you’re going to like it.
Part 3. Best Method to Transfer iTunes Playlist to Android
As you may already know, Apple doesn’t tolerate the transfer of their property to other devices, much less to Android. However, there is a way to transfer iTunes playlist to Android without going through all the trouble that we mentioned earlier.
TuneSolo Apple Music Converter is a special tool with the ability to completely extract all the songs from your iTunes playlist and download them. You may even convert these songs to other formats. If you’re interested, you can check out more of its features below:
Main Feature:
- DRM Removal. The main reason why you won’t be able to transfer iTunes playlist to Android normally is because of DRM protection. However, you can remove the DRM protection using TuneSolo. Therefore, you can transfer your files to Android easily
Other Features:
- Offline Listening. Once the files are on your Android device, you can listen to the playlist even without connecting to the internet
- Faster Conversion. Since you’re dealing with an iTunes playlist, you naturally need to download many songs. This can be handled by TuneSolo considering how it has a speed 16 times faster than common converters. Plus, you can download multiple songs at once
- Supported Formats. In case your Android only supports limited formats, you can always convert the song to another format. Thankfully, TuneSolo supports several formats including MP3, M4A, FLAC, WAV, and more
Note: The new version of Tunesolo Apple Music Converter no longer requires syncing with iTunes to process the offline music conversion anymore! We have a built-in Apple Music web player to boost download efficiency. You need to log in with the Apple ID to continue the music searching and converting processes later on. Please free-try our new Apple Music Converter to know more about its fantastic features!
There are many other features within the software itself, but you can always discover it for yourself. For now, we’ll discuss the steps on how to transfer iTunes playlist to Android using this software:
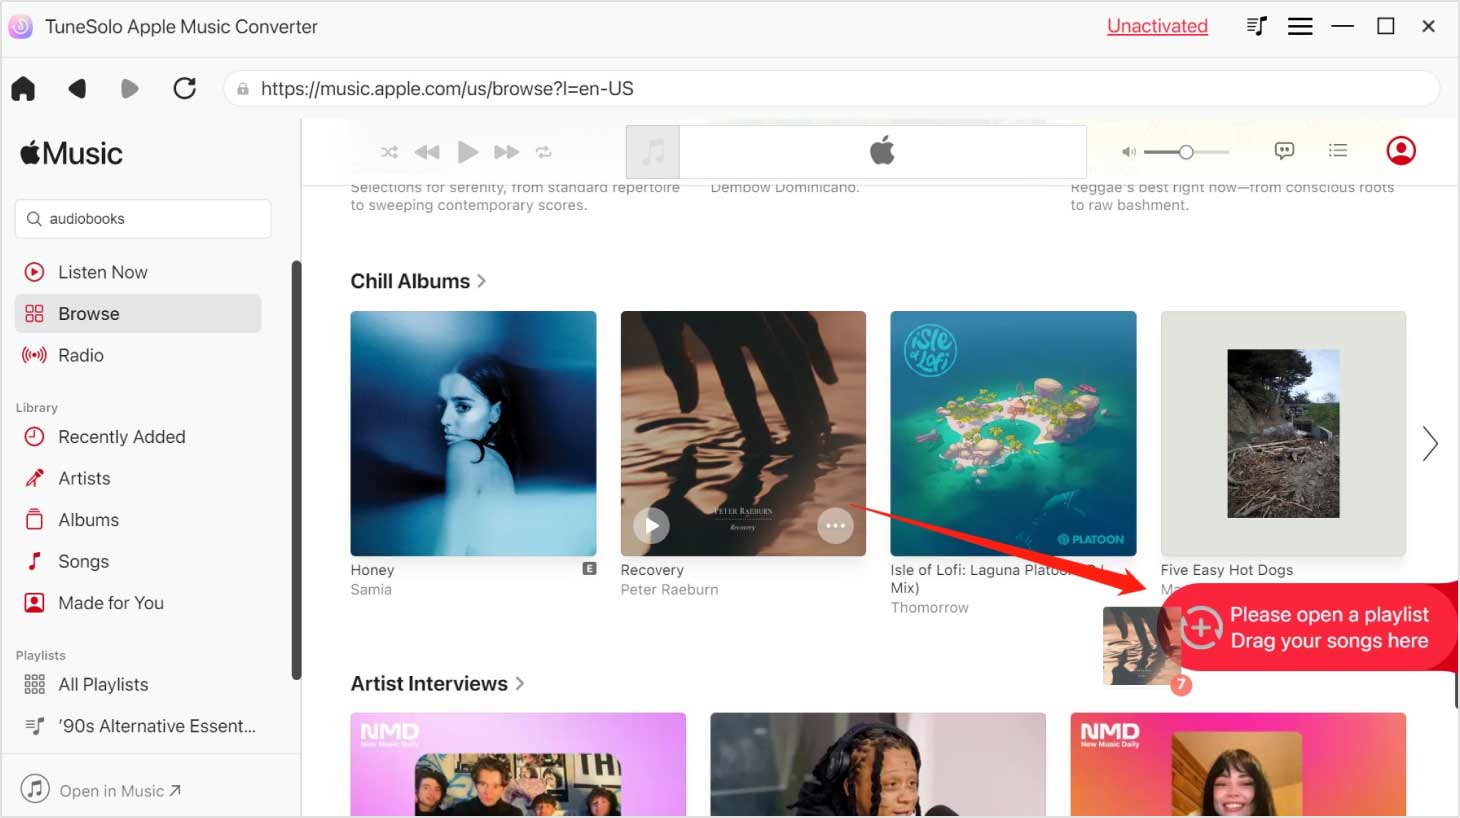
Step 1. Select iTunes Playlist Songs
Your first task is to make sure iTunes is currently installed on your computer. Next, open the Apple Music converter. You will see a list on the main page. This list is where you need to select the songs that belong to your iTunes playlist.

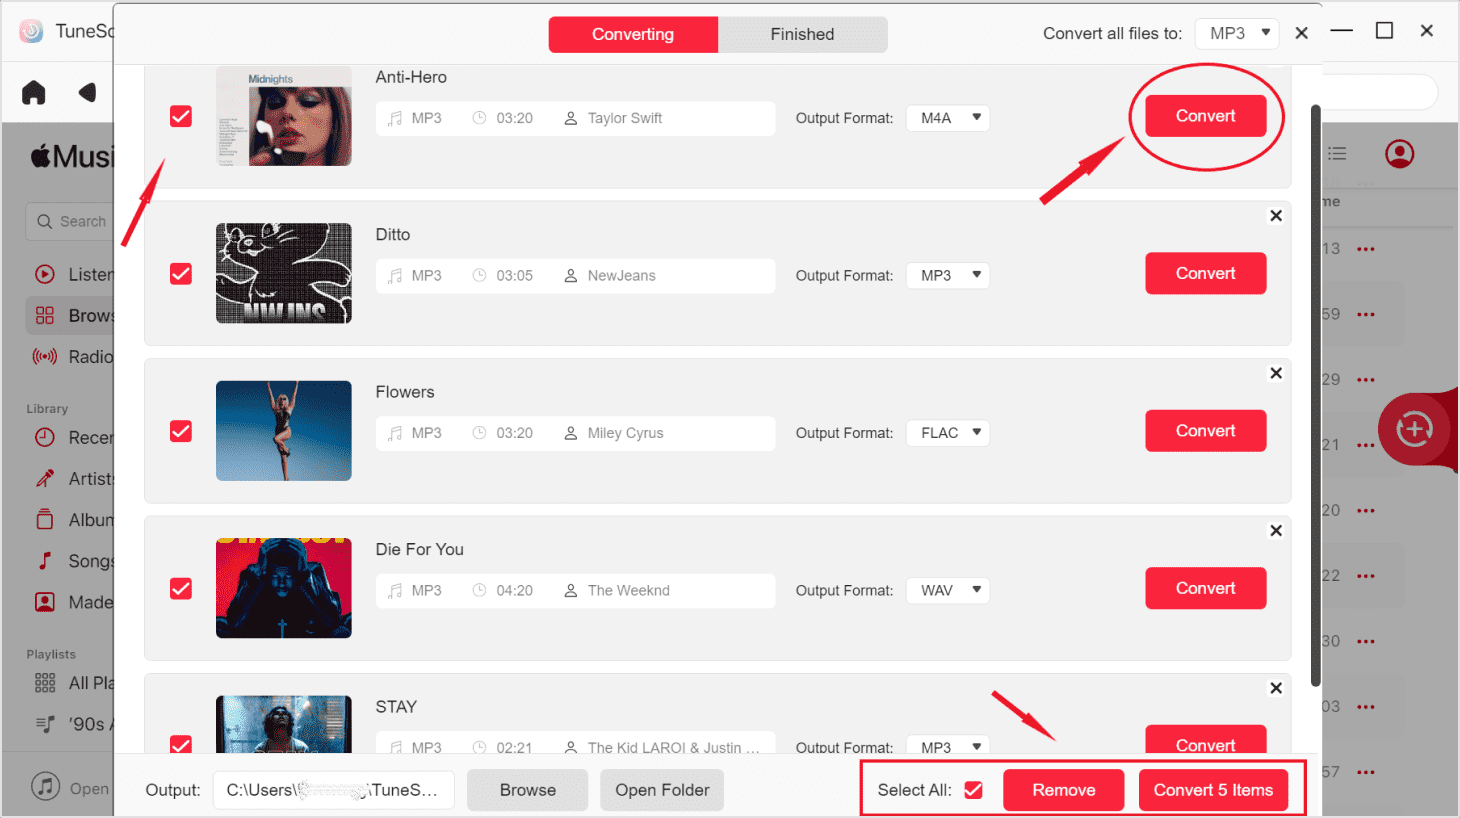
Step 2. Configure Settings
You will notice a section at the bottom of the window called Output Settings. This is where you can change the properties of the songs including their quality, format, and even the codec.

Step 3. Download iTunes Playlist Songs
Next, you need to click the Convert button to start the conversion process. You will have to wait for a bit after clicking this button.
Step 4. Transfer iTunes Playlist to Android
Lastly, you need to connect your Android device to the computer. Once connected, drag and drop all the downloaded songs into the Android’s internal storage.
Tip: Please make sure that Apple Music/iTunes is closed before opening Apple Music Converter. And during the song conversion, please do not do any operation on Apple Music/iTunes.
Part 4. Conclusion
As you can see, it’s quite easy to transfer iTunes playlist to Android. Sure, there may be some limitations when you use a free method, but as they say – things don’t always go as planned. Fortunately for you, you were able to do what you wanted.
This article has shown you if iTunes playlists can be transferred, how to do it, and even an alternative for the best method to accomplish this task. Hopefully, you can use what you’ve learned in this article in the future.

