How to Convert Apple Music Playlist to Spotify [2025 Guide]
There are really situations that some people tend to change the music app they use because they want to have a new experience on music streaming. This is actually not a bad idea especially if the new music app that you have been considering using alternatively is about to release a new feature or a promo that the former one does not have.
The only issue possible about this matter is the transferring of your music data or files from the former one to the new one. So, we would be discussing the steps on how to convert Apple Music playlist to Spotify Music as well as the moving of albums, individual tracks, music data, and artists.
Currently, Apple Music and Spotify Music were two of the most established and used music streaming platforms by many. Both of them are also consistent when it comes to providing the best features and services to their users.
But since this has always been about the competition in the market, it is just normal and common to offer what other music providers are not able to do or give. This is to attract more users to switch into them. In this post, take your time to learn how to convert the Apple Music playlist to Spotify and be able to do this on your own when such a case happened to you one time.

Article Content Part 1. How to Transfer Playlists from Apple Music to Spotify-with Thrid-Party ToolPart 2. How to Transfer Apple Music to Spotify Without SubscriptionPart 3. In Conclusion
Part 1. How to Transfer Playlists from Apple Music to Spotify-with Thrid-Party Tool
As was mentioned in the introduction a while ago, switching to another music streaming service is already a common act especially if your newly found music provider has an additional feature that the former one does not have or if you are to take advantage of the promo the latter one has been offering at the present time.
So, if it happens that you are using Apple Music and you want to switch from Apple Music to Spotify Music, it is a good idea not until you realized that you are to repeat the gathering and creating of playlists. In that case, we are going to tackle how to transfer or convert the Apple Music playlist to Spotify and other content using Soundiiz. Below are some of the procedures that you may do with the help of this application.
Steps To Follow On How To Transfer Apple Music Playlists To Spotify
- The first step that you have to do is to head into your web browser and open the web app.
- Now, proceed to your music library and then click on the tab “Playlists”. From there, select the Playlists category.
- At the left side of your screen, click on Apple Music as the main source or provider of playlists and have it connected once selected.
- You will then see all of the playlists you saved in your Apple Music library. Select all those you want to transfer by ticking the box right beside each playlist.
- At the top part of the screen, specifically at the top of your toolbar, click on Convert tools.
- After doing so, choose which music streaming platform you want the playlists to be transferred to. So, in our case, select Spotify Music. After the selection of the app, have Spotify connected as well.
- The process to convert the Apple Music playlist to Spotify will now start and once the playlists are set, after a few minutes you will find them in your Spotify Music library.

In addition to the procedure on how to convert Apple Music playlist to Spotify, I will be sharing as well the steps on how to transfer albums from Apple Music to Spotify, how to move all of your music data from the Apple Music app to your installed Spotify Music app at once and even the steps on how to transfer artists from Apple Music to Spotify. All of your favorite tracks could be transferred as well in your Spotify Music app, and to learn about that, just keep on reading this article.
Steps To Follow On How To Transfer Albums From Apple Music To Spotify
The steps to be discussed about the transferring of your favorite albums are actually almost the same as the steps on how to convert the Apple Music playlist to Spotify. The coming steps would be easily understood for sure.
- Proceed to open the web app.
- The next thing to do is to open your music library and then click on the tab “Albums”. From there, select the Albums category.
- If you left the panel, select the source of the albums which is Apple Music, and then have it connected afterward.
- From the set of albums in the list presented next on your screen, tick on the box of every album that you wish to transfer. The box could be found on the left side of each album title.
- Right after the selection, click on the Convert tool that is located at the top of your toolbar.
- Now, it is time to choose the end location of the selected playlists. Select Spotify Music and then connect to this music streaming platform.
- The entire process of transferring will now officially start. And once the albums are found, they will then be available in your Spotify Music account.
Steps To Follow On How To Move Your Entire Apple Music Data To Spotify Music
For those who want to finish everything in just a click away, these are the steps that you must do to transfer all of the music data from Apple Music at once.
- Again, have the Web app opened.
- Have a look at the left part of your main interface and then look for “Platform to Platform”.
- Now, select the Apple Music app as the main source and connect it as well.
- After doing so, select all the categories of elements that you want to transfer by putting a mark on the boxes beside each category.
- This time, you have to choose the end location or the destination service of the categories selected. Choose the Spotify Music app.
- Once everything was all set, the process will now begin. You are able to see as well the progress of the transfer process by clicking on the “Batches” list.
Steps To Follow On How To Transfer Artists From Apple Music To Spotify Music
All of your favorite artists from Apple Music wouldn’t be left behind because there are actually some basic steps to follow in transferring them in your Spotify Music app.
- The first thing to do is to open the web app.
- Right after that, in your library, click on the category allotted for your favorite artists or the “Artists” tab.
- At the left side of your interface, click Apple Music as the main provider of the artists and have it connected.
- Now, browse the list of your artists and then select all those that you want to transfer to another platform. In order to do that, tick on the box beside each artist's name.
- At the top of your toolbar, click on the Convert tool.
- Now that everything was set, select Spotify Music as the end location of the artists to be moved.
- The process will now start and then after a few minutes of waiting, all of them would be available in your Spotify Music account.
Steps On How To Transfer Tracks From Apple Music To Spotify Music
If you wish to transfer individual tracks that are not listed inside a certain playlist, you are able as well to do that. The steps are pretty the same again with the steps on how to convert Apple Music playlist to Spotify so, you will surely find the procedure easy and super basic to do.
- Has the web app opened on your used device?
- Proceed to your library and then select the tab of “Tracks”.
- At the left part of the interface, select Apple Music as the chief source. Has it connected right after the selection?
- Now, in the list of your Apple Music tracks, tick the box right beside the individual tracks you want to move.
- At the top of your toolbar, click on the Convert tool.
- After doing so, choose the destination platform which is Spotify Music. Have the Spotify Music app-connected after the selection.
- The process will start once everything was set already. All of the tracks will be available in your Spotify Music once everything was moved completely.
In addition to the Soundiiz application already discussed above. If you are an iOS user, you can use SongShift to convert Apple Music to Spotify. But for a better experience, you may need to upgrade when using the above two third-party software.
Part 2. How to Transfer Apple Music to Spotify Without Subscription
After a clear discussion of the steps to follow on how to convert Apple Music playlist to Spotify, let us now tackle the perfect tool that you can use in order to get a lot of Spotify songs without the need of getting a monthly subscription. Actually, this method is a lot advantageous and helpful to all the free users especially since they are not allowed to get the songs with the free account alone. So, to all the free users of the Spotify app, take your time in reading this section of the article because it will be a lot beneficial for you.
The perfect tool that you may use to get more Spotify songs without availing of the Spotify Premium plan is no other than TuneSolo Spotify Music Converter. To learn more about this notable music converter, let us have below a short description of its major features.
Major Features Of TuneSolo Spotify Music Converter
Download Spotify Songs
TuneSolo Spotify Music Converter is very capable of downloading all of your favorite and selected Spotify songs. Name all the songs that you want and TuneSolo can assist you in saving all of them on your device.
Convert Spotify Songs Into Other Audio Formats
TuneSolo is also capable of converting Spotify songs into any of the audio formats including MP3, WAV, AAC, and FLAC output format.
Fast Speed Of Conversion
This notable converter can finish the entire process at up to 5x the speed of conversion. In just a couple of minutes, you can already have dozens of songs that are successfully converted. Save the boring time!
Offline Listening
Since TuneSolo allows the users to download the songs on their device, you will be capable as well of listening to them without connecting to the internet. Worry no more about your mobile data or stable signal!
Play Spotify Songs In Multiple Devices
With TuneSolo Spotify Music Converter, you have no limits when it comes to the total number of devices to use in enjoying your songs. Unlike the Premium users who are only allowed to use three devices in streaming the songs.
Preserves ID3 Tags And Metadata Info
Spotify songs are identified through the help of some important details such as the ID3 tags and Metadata info. TuneSolo Spotify Music Converter is very skilled as well when it comes to preserving and keeping all of these important details.
Organize Your Own Set Of Music
TuneSolo even gives you the opportunity to organize your own music library in any kind of arrangement you prefer them to be. You can either have them by album, by year, by artists, or by any category you think will work the best on you.
Free Updates And Unlimited Help From The Technical Support Team
All users of TuneSolo Spotify Music Converter are entitled to free updates whenever there is one available. You can even ask for the help of the technical support team if in case you encounter a problem in the middle of the process.
Steps To Follow On How To Use TuneSolo Spotify Music Converter Properly
After following the steps on how to convert Apple Music playlist to Spotify, all these playlists can now be termed as your Spotify playlists. Below are the steps that you could use on how to save all of these newly saved Spotify songs in your currently used device.
Step 1. Download And Launch TuneSolo Spotify Music Converter
The first step that you have to do is to download the application of TuneSolo Spotify Music Converter. In order to do this, just head into the application store of your device and search the app from there. Another way is by visiting the official website of TuneSolo and then downloading the app from there. Right after the successful download of the app, have TuneSolo launched and running on your used device.
Step 2. Upload The Songs Files Into TuneSolo Spotify Music Converter
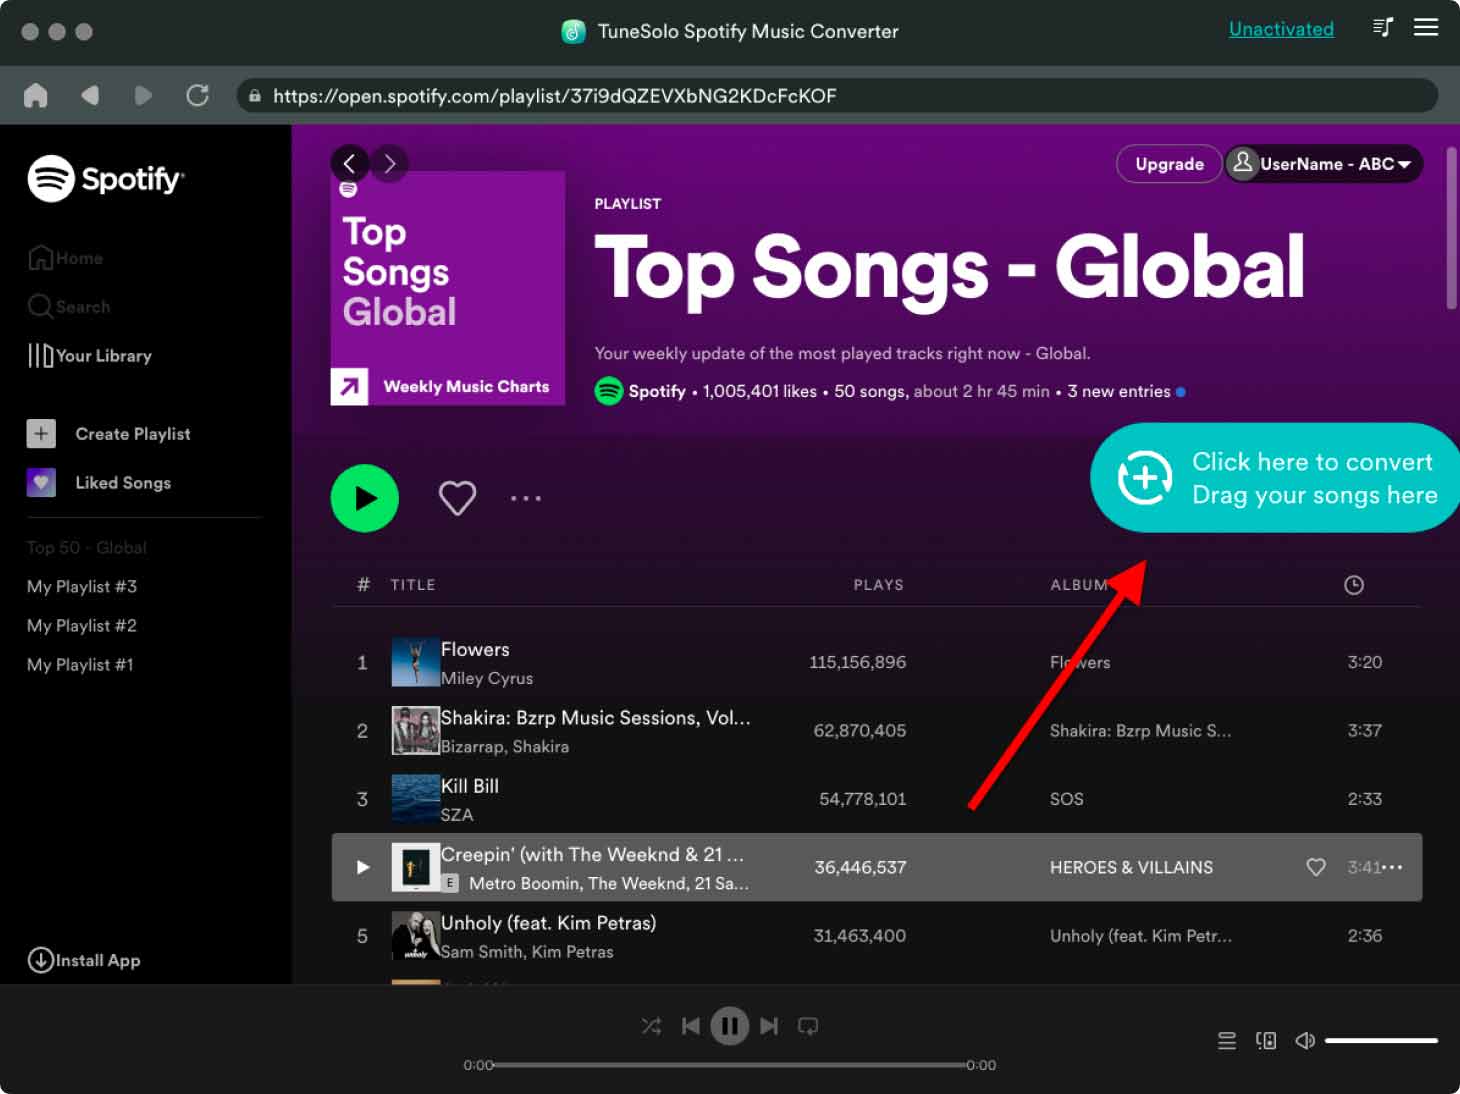
After the complete launch of TuneSolo Spotify Music Converter, you will have to wait for a few minutes until the app has read and recognized the songs in your music library. Once they are read, you may now start uploading the song files by copying the link of the songs and then pasting them in the music converter. Another method of uploading is by dragging your selected songs from your music library into the area allotted in the music converter.
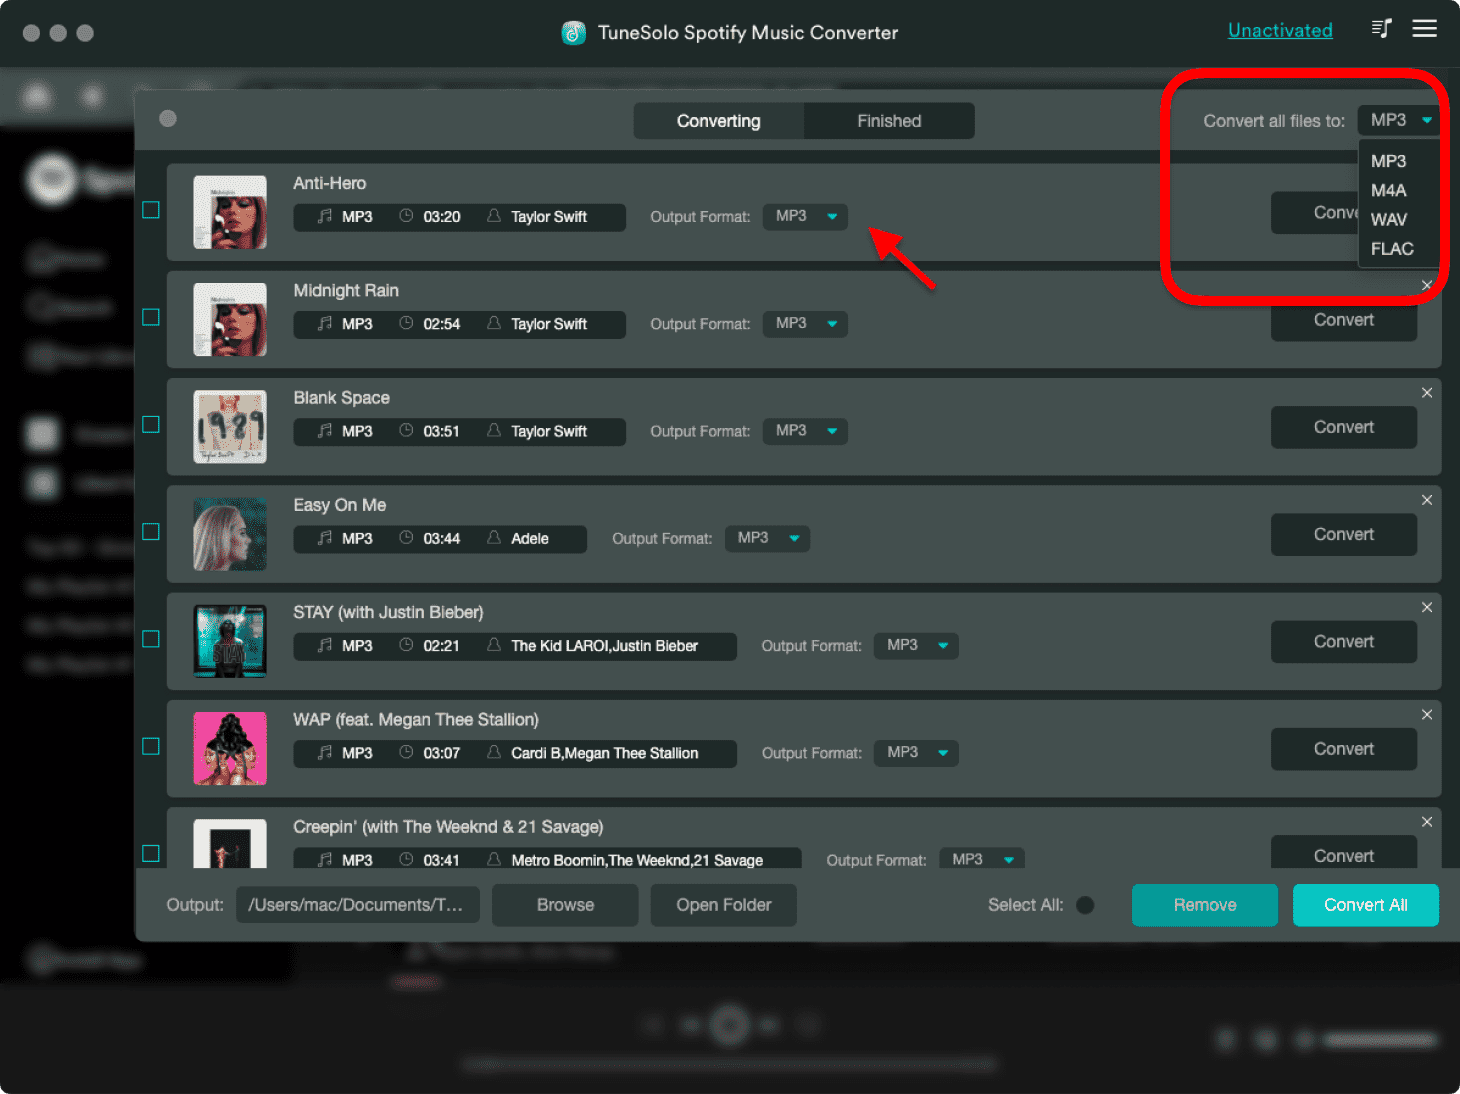
Step 3. Choose The Output Format Of Songs And The Output Folder
Now that the songs were already uploaded in the converter, you may now start choosing the output format of songs. You may choose from MP3, WAV, AAC, and FLAC output format. After choosing the audio format you prefer to have, you will have to choose the destination folder as well. This is where the converted songs are to be put once the conversion process was done.
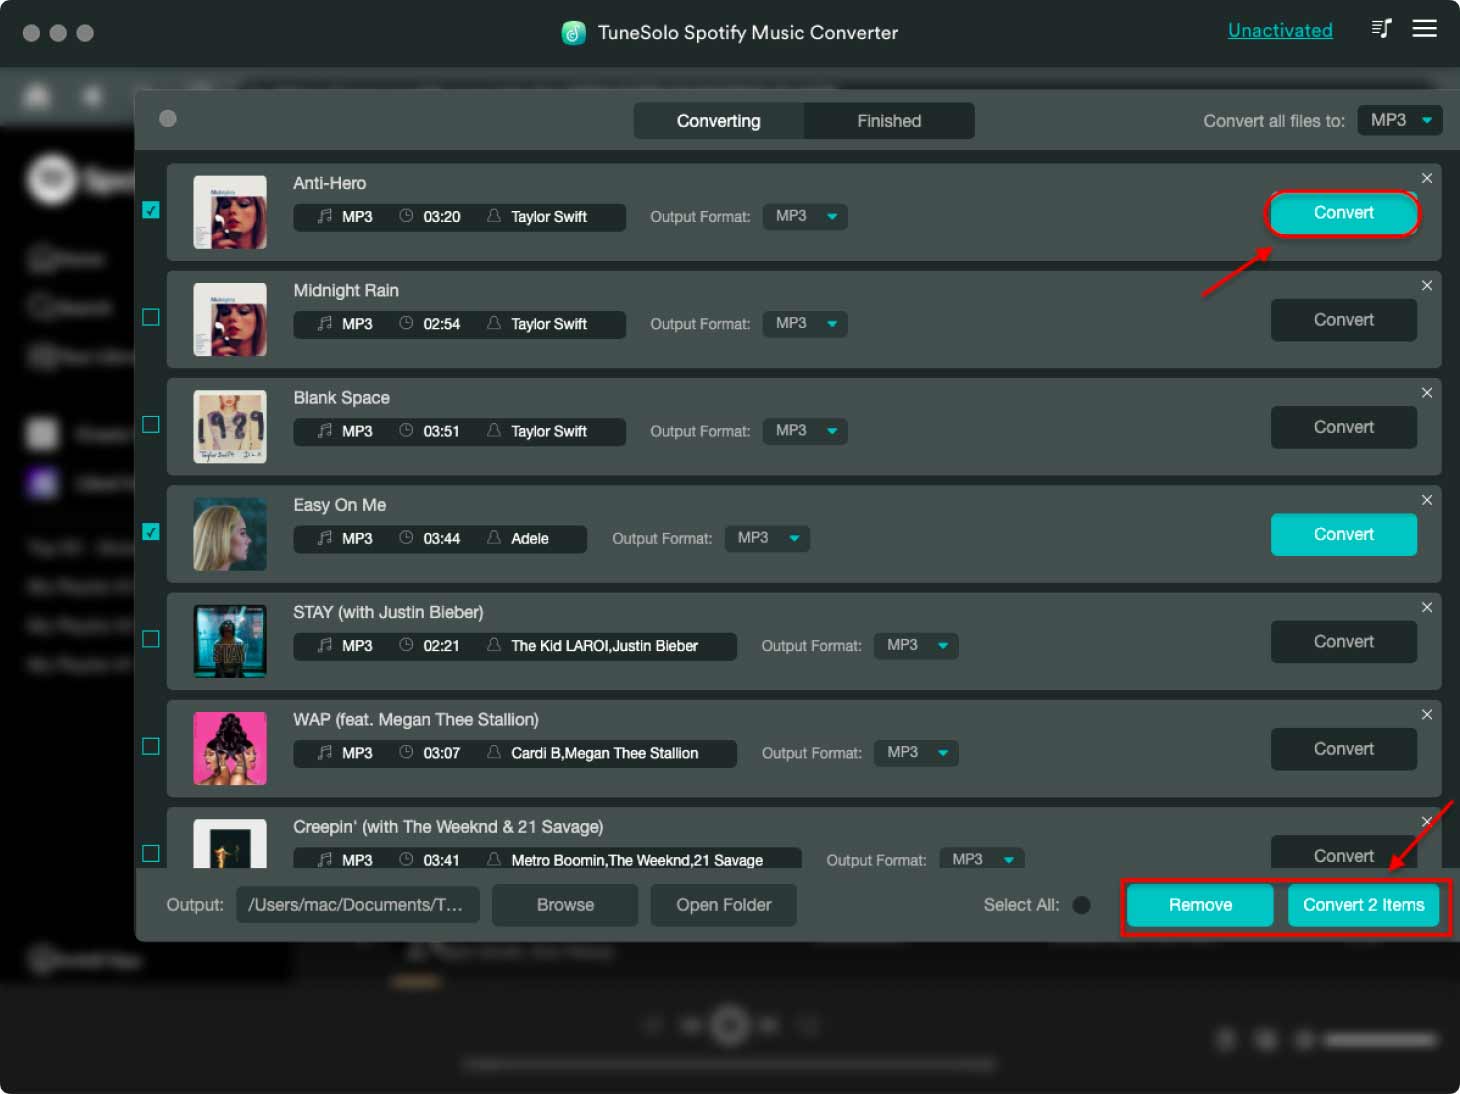
Step 4. Click The “Convert All” Button
Now that everything was set, you may now start clicking the “Convert All” button. This is to officially have the process of conversion started.
Step 5. Get The Converted Spotify Songs
Once the conversion process was done, if you want to check and get the completely converted songs, just click on “View Output File” to get and save them in your device permanently.
Part 3. In Conclusion
To be able to save a lot more of your favorite Spotify songs, you can always use TuneSolo Spotify Music Converter. With the discussion we just had about the features and the services that we can get from TuneSolo, it is for sure that using this app is really worth your time.
On the other hand, if you have always wanted to switch from using one music app to another, it is alright as long as nothing will bother you in doing so including some of the playlists that will be left behind. If you are currently using the Apple Music app as your music provider and you want to switch to Spotify Music, just follow all the procedures and easy steps on how to transfer or convert Apple Music playlist to Spotify.

